


I'm using Nuxt3 a lot lately. I already wrote a bit about Nuxt3:
This time we want to take a look at Nuxt with Vuetify.
Vuetify comes with a lot of components and with Vue3 support. Now let's start setting it up with Nuxt3!
Creating Nuxt3 project
To create a Nuxt3 project we use nuxi. Just open a terminal and use the following command:
npx nuxi init <project-name>
If you haven't nuxi installed yet you can simply install it with:
npm i nuxi
After creating the project go into the project directory and run:
npm i
Now you are ready to go and you can start your project with npm run dev.
You should now see this on localhost:3000

Installing Vuetify
The next step is to bring Vuetify to our project. First, we need to install Vuetify 3.
npm install vuetify@next
This will give us the latest beta.
We also need to install the Vuetify Vite Plugin
npm install -D vuetify@next vite-plugin-vuetify
Vuetify Plugin
Now we have all our dependencies ready. The next thing we need to do is to create a plugin for our Nuxt project. We create a plugins directory and place a file called vuetify.ts in there.
import { createVuetify } from 'vuetify';

export default defineNuxtPlugin(nuxtApp => {
    const vuetify = createVuetify({
        ssr: true,
    });

    nuxtApp.vueApp.use(vuetify);
})
This should already be enough. We add a few options to the plugin later.
Nuxt.config.ts
We are almost done! The only thing missing is our nuxt.config.ts. It should look like this:
import vuetify from 'vite-plugin-vuetify';

export default defineNuxtConfig({
    css: ['vuetify/styles'],
    vite: {
        ssr: {
            noExternal: ['vuetify'],
        },
    },
    modules: [
        async (options, nuxt) => {
            nuxt.hooks.hook('vite:extendConfig', config => config.plugins.push(
                vuetify()
            ))
        }
    ]
})
We added the Vuetify styles, the vuetify vite plugin and adding the vuetify vite plugin to our modules. Now we are ready to go and can use Vuetify in our Nuxt3 project. So let's take a quick look at it!
Vuetify in Action
I just take the timeline component from Vuetify and paste it into the app.vue
Now if we take a look at it almost works as expected but some things are missing still, right?
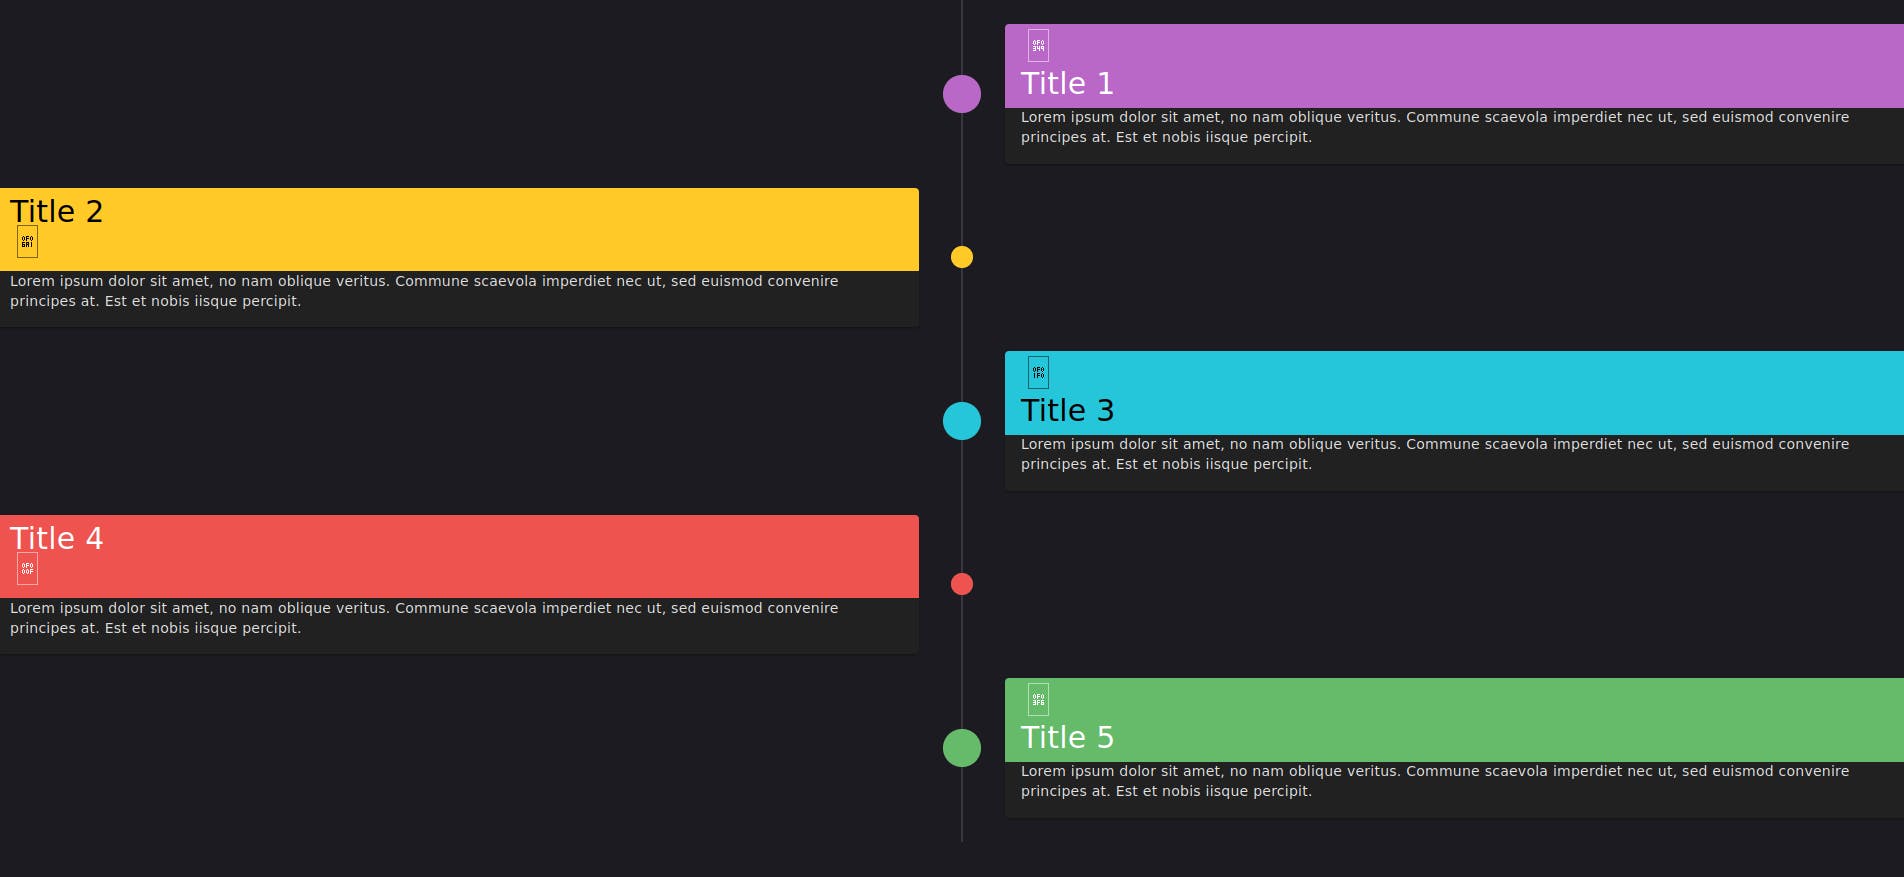
Adding icons and themes
In the screenshot above we see that there are no icons displayed. That's because we need to add the icon or icon sets to our plugin first. We also can add a theme. To do this we simply adjust our vuetify.ts. I set the default icon set to mdi so we see the icons in that component correctly.
import { createVuetify } from 'vuetify';
import { aliases, fa } from 'vuetify/iconsets/fa';
import { mdi } from "vuetify/lib/iconsets/mdi";
import '@mdi/font/css/materialdesignicons.css';
import '@fortawesome/fontawesome-free/css/all.css';

export default defineNuxtPlugin(nuxtApp => {
    const vuetify = createVuetify({
        ssr: true,
        theme: {
            defaultTheme: 'dark',
        },
        icons: {
            defaultSet: 'mdi',
            aliases,
            sets: {
                mdi,
                fa
            }
        },
    });

    nuxtApp.vueApp.use(vuetify);
})
Let's take a look at our browser again now:
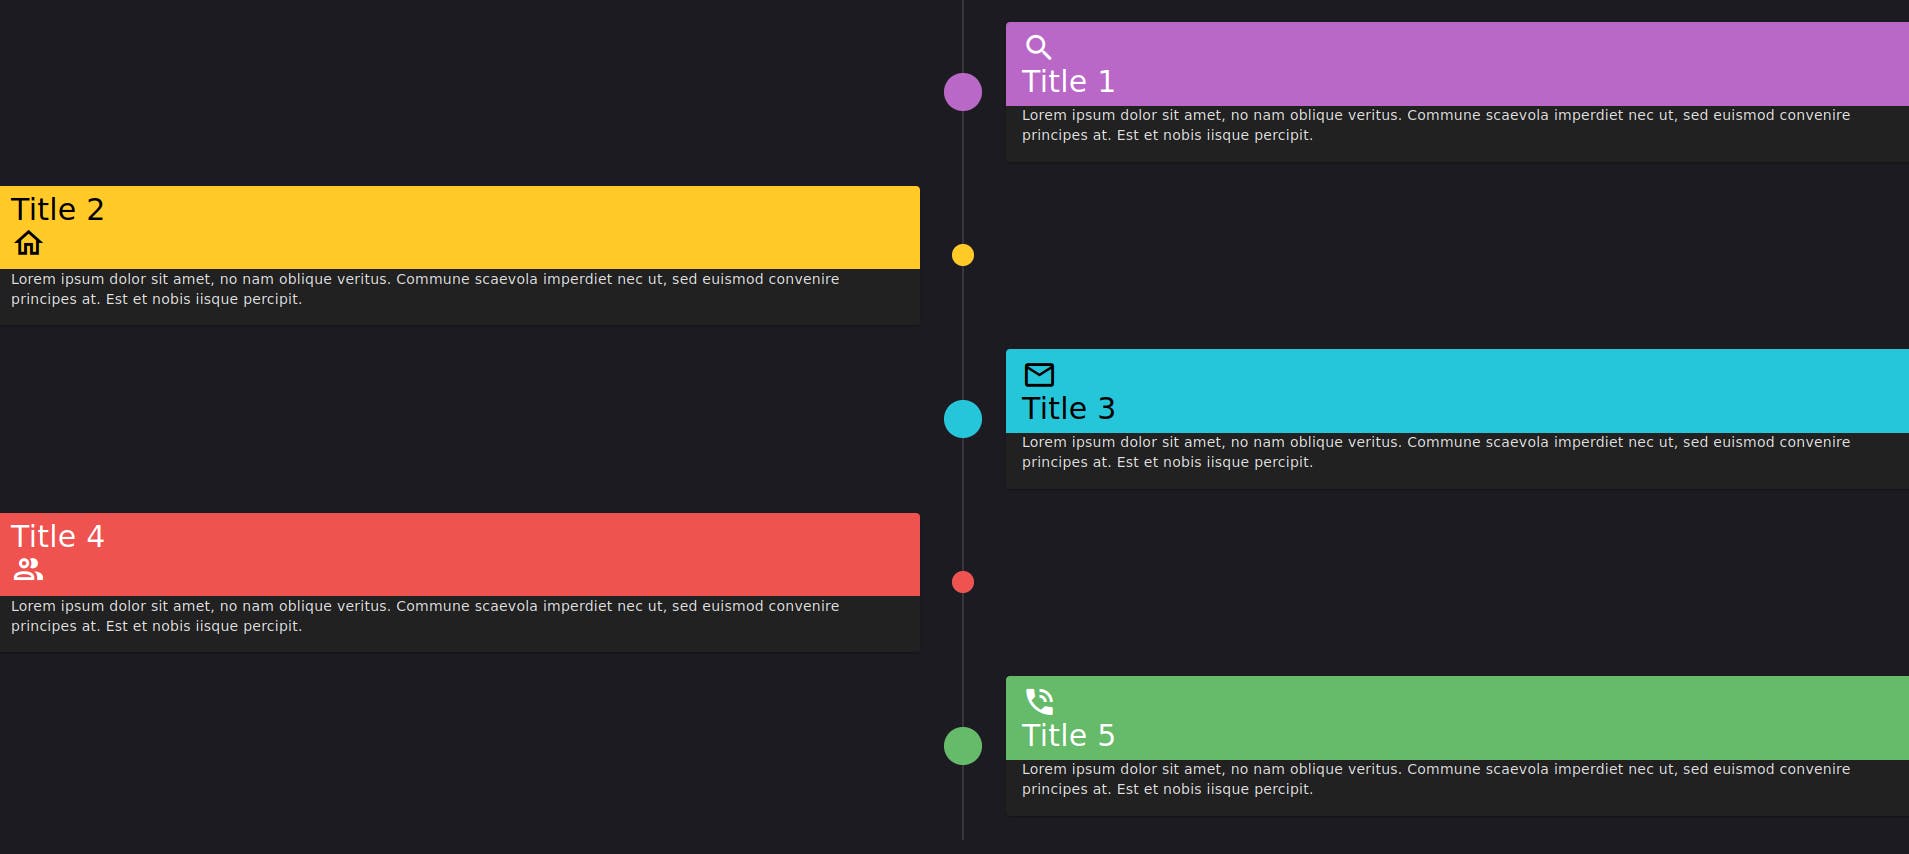
It looks perfect and we are ready to use Vuetify in our Nuxt3 project now!
Conclusion
You can use almost everything with Nuxt3. I like to use tailwind and something for the components like daisyUI, FlowBite or Tailwind Elements. Sometimes it's also cool to use Vuetify because it comes with a lot of stuff and you don't have to care about building components.
You can find the Nuxt Vuetify Template on my GitHub.