Hacktoberfest 2022

Hacktober 2022 was a lot of fun and I learned a lot. It was actually the first hacktoberfest I particpated in. In this short blog post I just want to share my experience with you.
What's Hacktoberfest?
Every developer should know the celebration of open-soruce projects, also called Hacktober. It's basically a one-month long celebration of open-source projects.
Developers all around the world are hacking open-source projects and creating Pull Requests to fix bugs, implement new feature or improve some code in general.
What's in for you?
Of course you can get some swag for it. Just checkout the offical hacktoberfest page. This year the first 40,000 participants who got 4 PR's accepted got a pretty cool shirt.
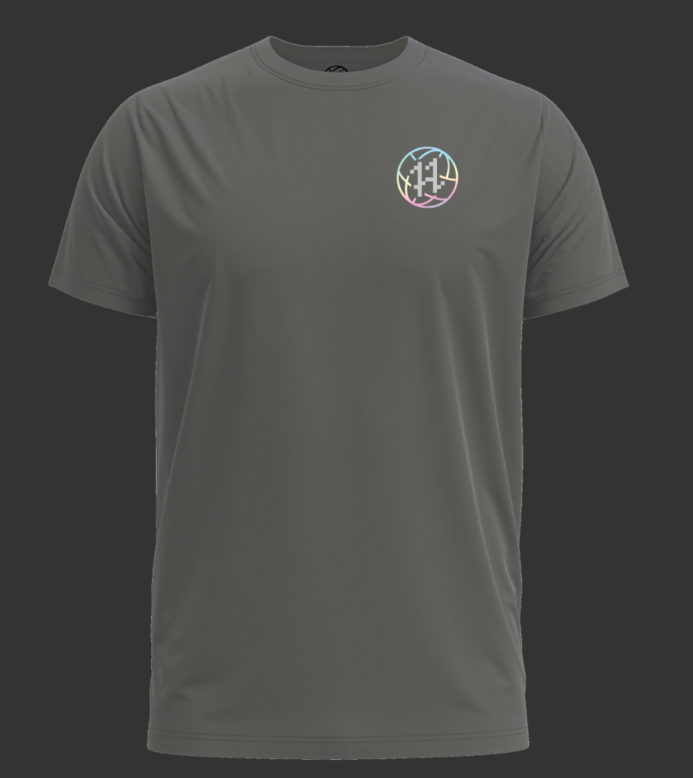
If you completed hacktoberfest successfully you had the choice for the darkmode shirt or you also could select the light mode shirt:
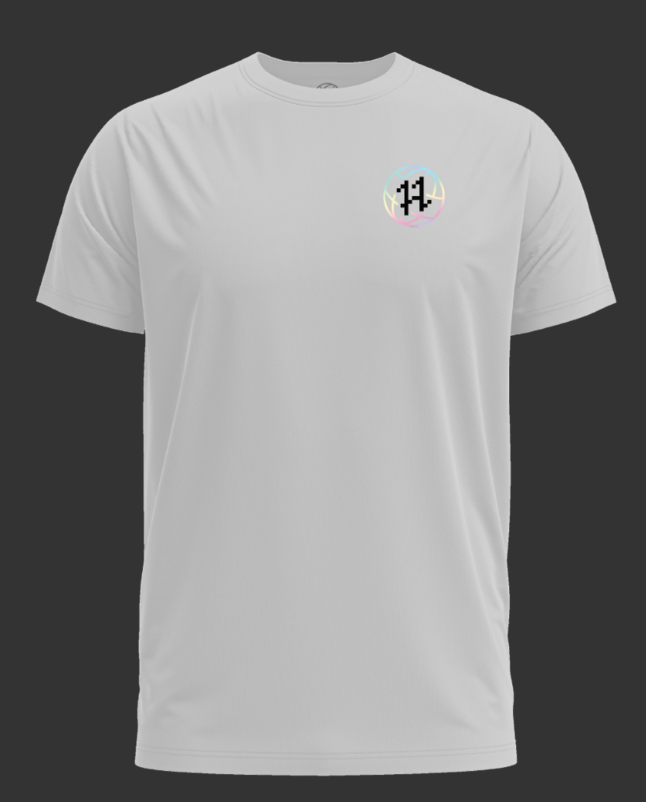
You also could plant a tree in your name. Pretty cool huh? To complete the hacktoberfest successfully you need 4 PR's which got accepted in the month of October.
Let's take a look at my first Hacktoberfest and what I did.
The Project - Shopware
Since it was my first hacktoberfest I decided to chose one open-source project that I know a bit. Luckily Shopware is an open-source project.
I already did some coding in Shopware and that helped me a lot. Let's take a look at some of my work in Hacktober.
What to fix? - Hacktober
The most difficult task for me was to find things that I know I can fix. I did a lot with CMS-Elements in Shopware already so I searched for issues in that area. The first place for me to find issues was github. Also it was a good idea to take a look at the issue tracker from Shopware.
I found some issues I could work on and created some PR's. Let's take a look at some of them.
The Pull Requests
We only will take a look at 3 pull requests which are all beginner friendly. The first pull request I made was just a simple improvement.
Improvement - Pull Request
I found this issue and thought that would be an easy improvement. So issue basically is that you have a CMS-Element where you can configure the height with a simple input field.
Now inputs like: 200 or 200 rem will not work. You could simply add the px in the frontend and make the input field a number field only. But that causes problems.. Now you force every user to use the unit px. If you know want to create a header with 100vh it's not possible anymore.
A simple improvement here was to just add a helpText to the element. Luckily it's very easy to do. First I just added a helpText in the snippet files. The code looks like this:
"config": {
    "label": {
        "minHeight": "Minimum height",
        "minHeightHelpText": "Enter the minimum height with your desired unit. For example: 200px",
        "linkNewTab": "Open link in new tab"
    },
}
After that you have the snippets and you only need to add them to the elements config.
{% block sw_cms_element_image_gallery_config_settings_min_height %}
    <sw-text-field
        v-model="element.config.minHeight.value"
        :label="$tc('sw-cms.elements.image.config.label.minHeight')"
        :help-text="$tc('sw-cms.elements.image.config.label.minHeightHelpText')"
        :placeholder="$tc('sw-cms.elements.image.config.placeholder.enterMinHeight')"
        :disabled="!['cover', 'contain'].includes(element.config.displayMode.value)"
        @input="onChangeMinHeight"/>
{% endblock %}
That's basically it. A simple improvement. Just displaying a helpText. I also trimmed the spaces from the output. So there is no more problem with the user input. You can take a look at this Pull Request
Bugfix - Pull Request
A lot of open source projects have small styling bugs which can be fixed pretty easily. I also found one display issue for the slider element in Shopware.
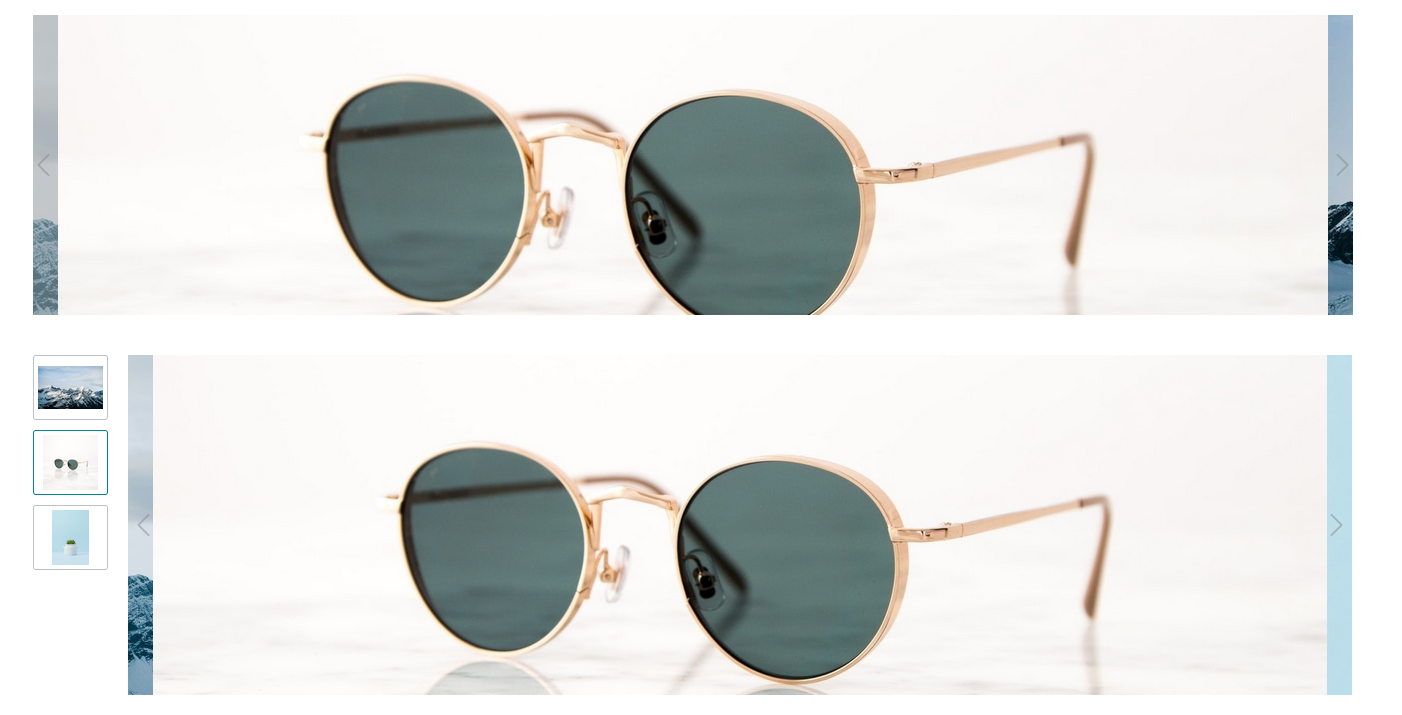
You always could see a part of the next and previous slides if you had the set the navigation arrows to outside. So it's just a small styling bug which is easy to fix.
Since it was just CSS or adding a wrapper I will not share any code here. If you still want to see the pull requests take a look at github.
Feature - Pull Request
The last pull request we take a look at it was a feature pull requests. I really had luck and could also hack some CMS-Elements again. You have the possibility in Shopware to align the images element.
But there was no way to align the image element horizontally. So let's add this option to this element. If you are familiar with creating CMS-Elements this is very easy to do.
We had to add the snippets again for the new configuration option and do some css. Let's take a look at the code which is more interesting. First we had to add a new config field to our index.js
Shopware.Service('cmsService').registerCmsElement({
    name: 'image',
    label: 'sw-cms.elements.image.label',
    component: 'sw-cms-el-image',
    configComponent: 'sw-cms-el-config-image',
    previewComponent: 'sw-cms-el-preview-image',
    defaultConfig: {
        media: {
            source: 'static',
            value: null,
            required: true,
            entity: {
                name: 'media',
            },
        },
        displayMode: {
            source: 'static',
            value: 'standard',
        },
        url: {
            source: 'static',
            value: null,
        },
        newTab: {
            source: 'static',
            value: false,
        },
        minHeight: {
            source: 'static',
            value: '340px',
        },
        verticalAlign: {
            source: 'static',
            value: null,
        },
       horizontalAlign: {
            source: 'static',
            value: null
        }
    },
});
Here we just added the new config field horizontalAlign. We also have to adjust our config so people actually can set this option.
{% block sw_cms_element_image_config_horizontal_align %}
    <sw-select-field v-model="element.config.horizontalAlign.value" :label="$tc('sw-cms.elements.general.config.label.horizontalAlign')" :placeholder="$tc('sw-cms.elements.general.config.label.horizontalAlign')">
        <option value="flex-start">
            {{ $tc('sw-cms.elements.general.config.label.horizontalAlignLeft') }}
        </option>
        <option value="center">
            {{ $tc('sw-cms.elements.general.config.label.horizontalAlignCenter') }}
        </option>
        <option value="flex-end">
            {{ $tc('sw-cms.elements.general.config.label.horizontalAlignRight') }}
        </option>
    </sw-select-field>
{% endblock %}
That's basically it. We only needed to bind the styling and add the css and we are done. People now can configure the horizontal alignment of the image element as well. If you want to see the whole code just head over to github
Recap - Hacktoberfest 2022
It was really fun and I contributed to an open-source project which I really like. That feels pretty good. Even if I just made some simple pull requests. I had a lot of fun as well and I managed to complete my first Hacktoberfest successfully!

Unfortunately I was demotivated pretty quickly because I had the feeling my pull requests were not processed. I opened them in the first week of October. I got the label on 28th October so I had to wait the whole October to finish Hacktober fest.
Of course I could've just opened more Pull Requests to finish earlier but I was to demotivated, maybe next time. I now know how to create pull requests and got some experience so next year I probably will not only rely on shopware.
Did I got one of the cool shirts? Nope. I hoped to be one of the first 40,000 but since I completed at the very end I only got a tree. It's a bit sad for me because the PR's were created so early so always keep in mind that, this doesn't matter. Next year I will go for the shirt for sure.


