Creating a block category in Shopware 6

Creating CMS-Elements and CMS-Blocks in Shopware is very useful. We can do custom designs and adjust the Shopware Core to our needs. If we create a bunch of elements it gets confusing very fast.
That's when creating your own block categories can help. Let us take a look at how to create our own block category in Shopware 6
Extending the CMS-Sidebar
Luckily it's very easy to create your own block category. We will use the CMS-Element from our how to create a cms element in shopware 6 guide.
Now we already have the base. Let's create a new directory Resources/app/administration/src/module/sw-cms/component/sw-cms-sidebar. In that directory we place a new file sw-cms-sidebar.html.twig
There is not much code to place in that file: {% block sw_cms_sidebar_block_overview_category_options %} {% parent %} <option value="yourCategory">Place category snippet here</option> {% endblock %} We just call the parent of the twig block and then add our category. Make sure to add snippets for your category names. I will not cover it in this small guide.
Override the sidebar component
We adjusted the twig template but we still need to override it. To do it we will place another index.js in the same directory. In our index.js we then will override the component like this:
const { Component } = Shopware;
import template from './sw-cms-sidebar.html.twig';

Component.override('sw-cms-sidebar', {
    template
});
Once this is done we only need to import the directory in our main.js:
import './module/sw-cms/component/sw-cms-sidebar';
Now you only need to build the administration and everything should work! Development Template ./psh.phar administration:build Production Template ./bin/build-administration.sh
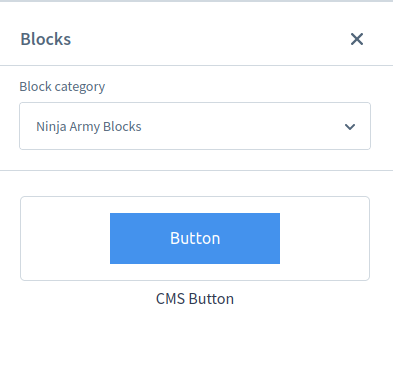
Adding Blocks to your category
To add our blocks to the newly created category we simply need to adjust our index.js inside our custom block. We just have to put the block in the category we already created. It looks like this:
import './component';
import './preview';

Shopware.Service('cmsService').registerCmsBlock({
    name: 'cms-button',
    label: 'sw-cms.blocks.text.ninja-cms-button.label',
    category: 'ninja', /* Add your category here */
    component: 'sw-cms-block-button',
    previewComponent: 'sw-cms-preview-button',
    defaultConfig: {
        marginBottom: '20px',
        marginTop: '20px',
        marginLeft: '20px',
        marginRight: '20px',
        sizingMode: 'boxed'
    },
    /* Changed this line of code */
    slots: {
        button: 'cms-button'
    }
});
What about Shopware Apps?
CMS-Blocks and elements work differently in the Shopware app system. You can create a cms-block with a shopware app but extending or overriding the administration will not work like in a plugin. So this guide only works if you are writing a Shopware Plugin and not an app.
A whole example can also be found on my GitHub


